Measuring cycles
- Increases machining accuracy
- Opens up new measuring possibilities for bulky component geometries
- Increases transparency in QC processes
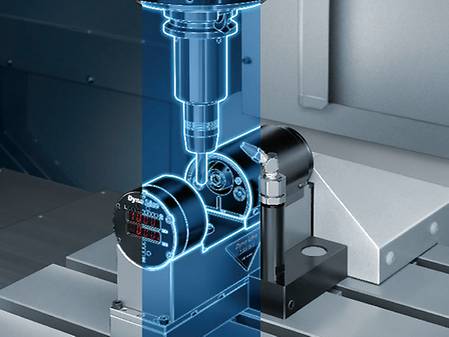
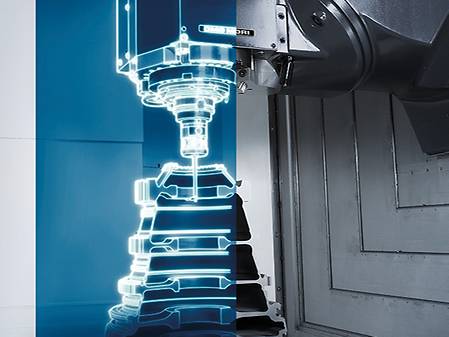
- Precise tool measurement with the CMOS laser measuring device
- Due to the rotation of the turning tool, errors in the tool assembly and cutting edges can be detected
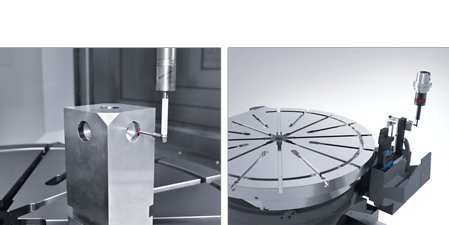
- Measurement of webs and grooves on components
- Measurement of diameter in difficult to access places
- Available with manual and retractable Calibration unit Package content
- L-Measuring probe according to Customer-specific design
- Flexible application possibilities
- In process measurement
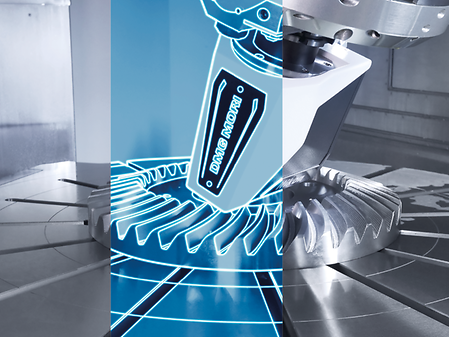
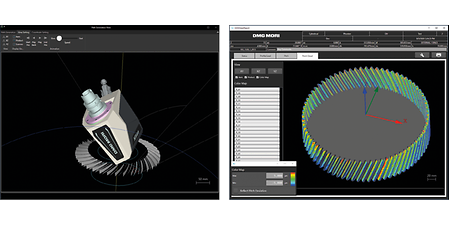
- Non-contact measurement with the laser scanner
- Measurement and evaluation of gears according to common standards analog to coordinate measuring machines
- Fast measurement with max. 70,000 points / sec. or up to 200,000 points / sec. depending on the laser source
- Technology and measurement system integration eliminate unnecessary handling of components
- High flexibility in gear measurement and reduction of reaction times during process start-up
- Measurement of gear teeth and scanning of free-form surfaces possible

- Geometric fingerprint of the machine Volumetric calibration at the touch of a button
- Detection and compensation of geometrical, positioning and angular errors of all axes
- Easy handling and implementation by the customer directly at the machine

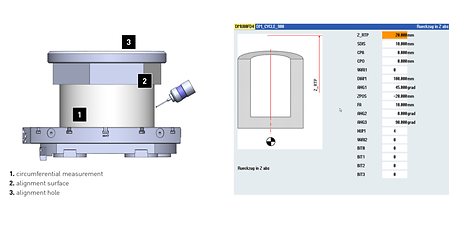
- Measuring with tilted tool axis
- Dialog-guided programming of the measuring cycles
- Positioning of the measuring points with rotary axis
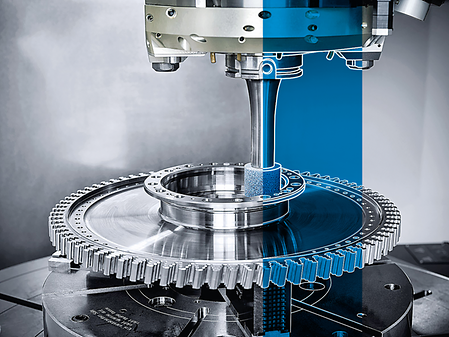
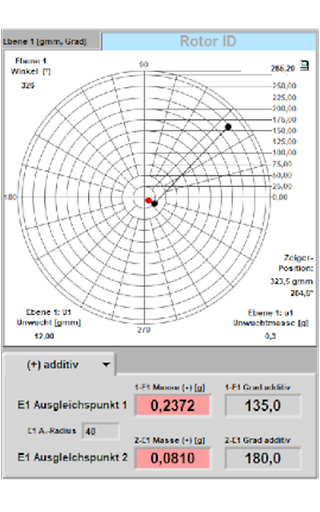
- Balancing of tools in the machine for high surface requirements and machine protection
- Checking the balancing quality of the spindle
- Balancing quality up to 0.3 g/mm
- Better surfaces due to balancing of the entire system in the clamped state
- Balancing of the tool under machining conditions (machining position -vertical / horizontal, with / without internal cooling supply, speed)
- Economical, as no external balancing device is required
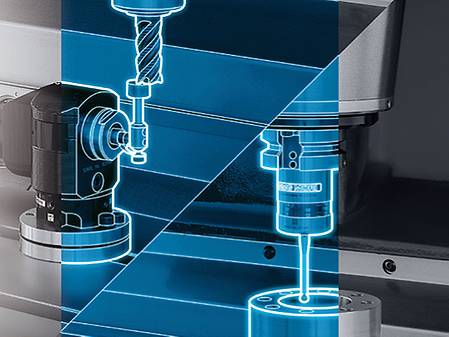
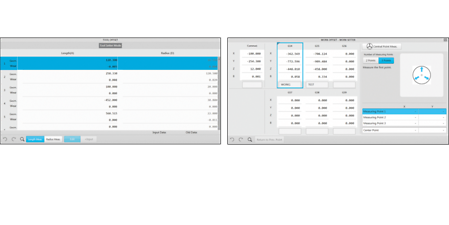
- Manual tool length measurement and workpiece centering in simple steps
- Guided instructions in the measurement. Short set-up times with high operational safety
- Shorter set-up times
- No great experience necessary to take Measurements
Special technical articles, analyses and background information on topics that move our industry.
- Unlimited product experience – unlock all technical machine data and product brochures.
- Exclusive videos, technical articles, whitepapers and blog articles with deep insights into the DMG MORI product world.
- Personalised access to other DMG MORI Platforms, including Event Platform, Media Library and much more.
Discover exclusive content with your DMG MORI Account.
- Unlimited product experience – unlock all technical machine data and product brochures.
- Exclusive videos, technical articles, whitepapers and blog articles with deep insights into the DMG MORI product world.
- Personalised access to other DMG MORI Platforms, including Event Platform, Media Library and much more.
Learn more about the DMG MORI Account.
Get access to many useful digital functions and services and have all important data at a glance. With a central DMG MORI Account, you can use all services around the clock from anywhere and with any device.
- Unlimited product experience – unlock all technical machine data and product brochures.
- Exclusive videos, technical articles, whitepapers and blog articles with deep insights into the DMG MORI product world.
- Personalised access to other DMG MORI Platforms, including Event Platform, Media Library and much more.
Learn more about the DMG MORI Account.
Unlock access to your Share Hub and many other functions and services. With a central DMG MORI Account, you can use all services around the clock from anywhere and with any device.
- Unlimited product experience – unlock all technical machine data and product brochures.
- Exclusive videos, technical articles, whitepapers and blog articles with deep insights into the DMG MORI product world.
- Personalised access to other DMG MORI Platforms, including Event Platform, Media Library and much more.
Learn more about the DMG MORI Account.
For general enquiries, please use our contact form.
For service and spare parts enquiries please use the my DMG MORI portal: https://mydmgmori.com/
Thank you very much for your interest.
Please fill out the form below to download the requested document.
If you accept the storage of cookies, this form appears only once during your visit.

